
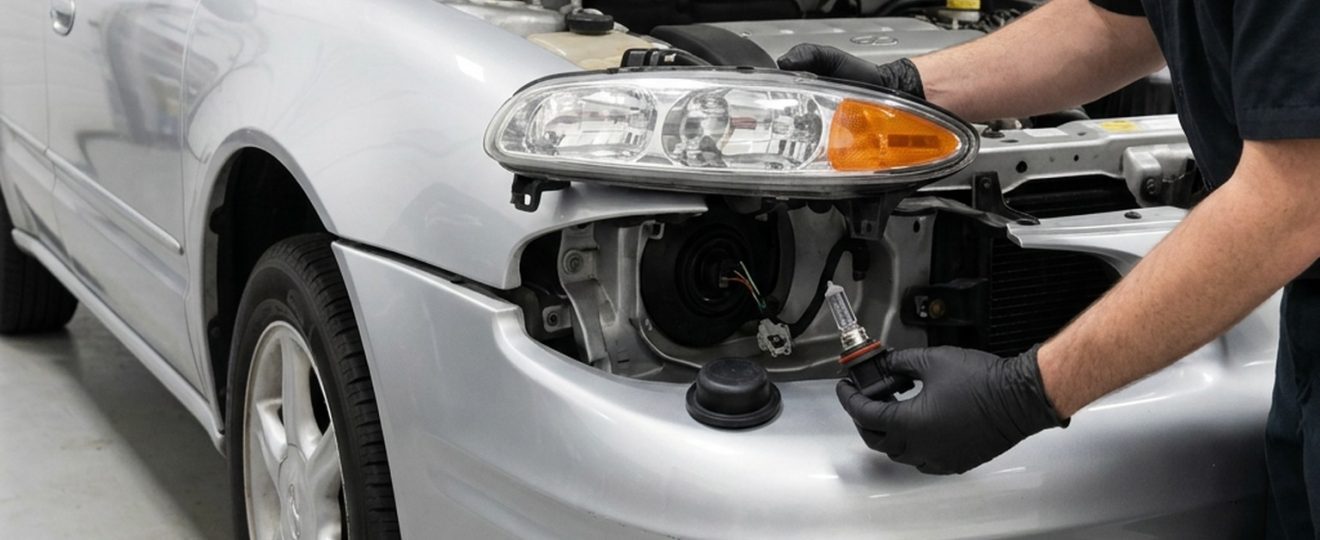
Dim headlights on an older Oldsmobile are a diagnosis problem before they are an upgrade problem. A brighter-looking bulb cannot correct a cloudy lens, a loose housing, a heat-damaged connector or a beam aimed above the road. On a 2004 Alero, the useful first move is to restore the original headlamp system and prove what is actually weak.
The 2004 Oldsmobile Alero Owner’s Manual identifies a 9006 halogen bulb for the low beam and a 9005 halogen bulb for the high beam. It also shows that the headlamp housing is designed to come forward after its two retaining clips are released. Those model-specific facts matter more than a universal “HID kit” label.
This guide uses the 2004 Alero as a concrete example. Other Oldsmobile years and models can use different lamps, housings and aiming procedures, so confirm the year, trim and markings on the installed parts before ordering anything.
Start with the optics the Alero was built to use
A headlamp is a system: light source, reflector, lens, mounting points and aim work together. The position and shape of the filament are part of that optical design. A discharge capsule and ballast placed in a socket made for a halogen filament are not automatically an equivalent replacement simply because the base can be made to fit.
A published NHTSA interpretation on HID conversion equipment explains that a replacement light source offered for a regulated headlamp must meet the applicable federal lighting requirements. It specifically warns that converting a filament-source design to an HID arc source changes the light source and its electrical needs. That is why the words “DOT” or “plug and play” on a listing are not enough to prove that a bulb-and-ballast kit will work correctly in an Alero halogen housing.
The current 49 CFR Part 564 light-source rules preserve dimensions, electrical specifications and designations so replacement sources remain interchangeable and provide equivalent performance. In practical terms, begin with the correct 9006 and 9005 halogen specifications or a complete compliant headlamp assembly intended for the vehicle. Do not treat a modified socket, added ballast or improvised adapter as proof of optical compatibility.
Find the weak link before buying parts
Park the car, switch the lamps off and let the bulbs cool. Then inspect both sides in the same light. The objective is to separate an electrical fault from an optical one without changing several variables at once.
- One beam is dark: confirm whether the failed position is low or high beam, then verify the bulb designation before removal. Look for a loose connector, browned plastic or damaged insulation. A damaged connector needs a proper service repair, not a higher-wattage bulb.
- Both beams look weak: clean the exterior lenses and compare their clarity. A multimeter check at the connector can reveal a supply problem, but use the correct wiring information and do not probe a live connector in a way that spreads its terminals.
- The light is bright but scattered: inspect the lens, reflector, housing tabs and mounting clips. A cracked mount or deteriorated reflector can misdirect a new bulb just as badly as the old one.
- Moisture returns inside the housing: find the failed seal, cap or vent. Repeated condensation and reflector damage usually point to housing service or replacement rather than a different bulb technology.
Photograph the bulb marking, connector and housing label before ordering. Record the vehicle year and model at the same time. The same discipline used in our replacement-part verification workflow helps prevent a correct-looking lamp from becoming an incorrect electrical or optical match.
Service the assembly without creating a new fault
GM’s procedure removes the Alero headlamp as an assembly rather than asking the owner to reach blindly behind it. Release the two retaining clips, support the housing as it moves forward and remove the rubber cap from the relevant bulb. The bulb retainer turns only a short distance before the bulb and harness can be separated.
Handle a halogen replacement by its base. The manual warns that the pressurized glass can break if it is dropped or scratched, so keep the bulb clean and follow the handling directions supplied with it. Before reinstalling the cap, check that the bulb is fully indexed in the housing and that the connector latch is engaged. A bulb sitting at an angle will change the beam even if it illuminates.
Reinstall the housing with its locating points seated and both clips secured. Test low beam, high beam and the nearby turn signal before closing the hood. If a connector becomes hot, a fuse opens again or the lamp flickers when the harness is moved, stop and repair the underlying circuit instead of increasing bulb wattage or adding a ballast.
Judge the repair by beam placement, not by bulb color
A whiter color is not a substitute for usable light on the pavement. After the bulb, housing and connector are sound, check aim on a level surface with the tires correctly inflated, the doors closed and the vehicle in its normal settled condition. Those preparation details come from the Alero manual because load and suspension position affect where the beam lands.
The manual also notes that accident damage can disturb aim and that difficulty seeing lane markers—or repeated flashes from oncoming drivers—can indicate an aiming problem. If the adjusters, mounting tabs or built-in indicators are damaged, have the assembly and aim checked with appropriate equipment. Do not compensate for a broken mount by turning the adjusters to their limit.
The sound upgrade path is therefore straightforward: restore clear and intact optics, fit the specified light source, repair any connector or voltage fault, seat the housing correctly and verify aim. If the original housing can no longer do its job, select a complete compliant replacement assembly for the exact Alero configuration. That produces a defensible repair; a generic HID package does not.
