
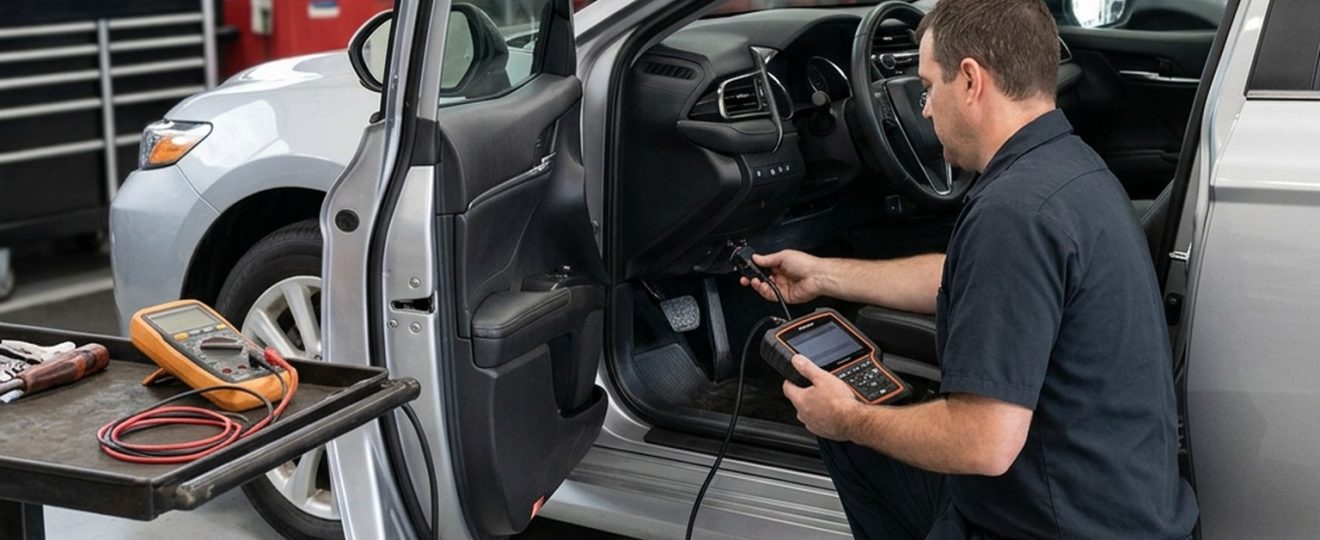
A check-engine light can make parts shopping feel urgent, but a diagnostic trouble code is not a verdict on a component. It records the system or circuit that failed a monitored test. The EPA’s OBD-II test procedure explains that the car stores both a trouble code and operating conditions when an emissions-related fault is detected. A useful diagnosis therefore starts by preserving that evidence, then checks the circuit and the physical system before any part is ordered.
The sequence matters because a code can be truthful while the first parts guess is wrong. A sensor may be reporting a real air leak, a corroded connector may interrupt an otherwise good component, or low system voltage may create several unrelated-looking messages. The scan tool narrows the question. A multimeter, a visual inspection and the correct service information supply the answer.
Freeze the evidence before touching the fault
Begin with the complaint as the driver experienced it: cold start, hot idle, highway load, rain, a recent battery replacement or a repair that happened just before the warning appeared. Photograph the warning lamps and record every stored, pending and permanent code. If the tool provides freeze-frame data, save engine speed, coolant temperature, load, vehicle speed and fuel-trim values before clearing anything.
Next, identify the vehicle precisely. Year, make and model are not always enough; engine, emissions label, build date and VIN can change sensors, connectors and control-module calibration. The NHTSA manufacturer-communications and recall resources are worth checking before a parts order because a known bulletin or safety recall may define the correct test or remedy for that exact vehicle.
Do not erase the code simply to see whether it returns. Clearing can remove freeze-frame evidence and reset emissions readiness monitors. If the vehicle is due for an inspection, that reset can create a separate readiness problem even when the warning lamp stays off for the first few trips.
Prove the circuit instead of naming a part
Read the code description literally. “Circuit low,” “range/performance” and “system lean” describe different failures and demand different tests. None of them automatically means “replace the component named in the sentence.” Use three layers of evidence and stop when they disagree:
- Scan data
- Compare the code, freeze frame and live values with the symptoms. Look for several codes that share a power supply, ground, air path or operating condition.
- Circuit data
- With the vehicle-specific service procedure, test the approved power, ground and signal points. Set the multimeter correctly and avoid jumping or probing an unknown module circuit.
- Physical evidence
- Inspect the connector lock, terminal tension, corrosion, rubbed wiring, vacuum hoses, fluid intrusion and any part disturbed by recent work.
A lean-code example shows why this discipline saves money. Unmetered air, restricted fuel delivery, an exhaust leak or inaccurate airflow data can all move the mixture away from the expected range. Replacing an oxygen sensor without checking those paths can leave the original fault untouched. The same principle applies to an intermittent wheel-speed code, an evaporative-emissions leak or a temperature-sensor circuit.
A basic code reader is often enough to capture codes and readiness status. It is not automatically the right device for module programming, actuator commands or security functions. Those jobs require equipment and procedures that match the vehicle. Treat any tool that claims universal programming as a reason to verify coverage, not as permission to experiment on a live control module.
Plan the meter test before touching a terminal. Identify the expected circuit, select the correct meter function and lead sockets, and use the test points specified for that vehicle. A resistance check on a powered circuit or an improvised jumper at a control-module connector can create a new fault. If the service procedure calls for a breakout lead, current clamp or fused jumper, a basic meter is not an equivalent substitute. The purpose of the test is to compare measured evidence with a known specification, not merely to produce a number.
Verify the repair before closing the order
When the evidence does point to a replaceable part, match the full identifier rather than the marketing description. Compare connector shape, pin count, mounting points, calibration notes and superseded part numbers. The existing Car Parts Home guide to verifying a replacement part before ordering provides a separate fitment check for that stage.
Save the original code record and the measurements that justified the repair. After installation, inspect the work area again, clear codes only when the procedure calls for it, and follow the manufacturer’s specified verification or drive cycle. Rescan for pending codes and confirm that the original symptom is gone under the same conditions that produced it. A warning lamp that has not returned yet is not by itself proof that the fault is fixed.
Keep the final paperwork with the diagnosis. The FTC’s auto-repair guidance recommends a completed repair order that identifies the work, supplied parts, costs and odometer readings. For a do-it-yourself repair, the equivalent is a short record of the code, test results, part number and follow-up scan. That record makes the next fault easier to separate from the last one.
The most valuable diagnostic tool is not the scanner or the meter on its own. It is the order in which they are used: preserve the evidence, define the system, prove the circuit, inspect the physical cause and verify the result. That sequence turns a warning light into a repair decision instead of a parts lottery.

